
Herb Burning Bundles: A Novice DIY
/Today’s adventure was a project I’ve thought about doing for a year or two now, but I never seemed to manage to find the time during the summer, when the necessary plants were available in my garden. I am talking about the creation of herb burning bundles, wrapped in cotton twine and created with magical intent for purification of the spaces in which they are burned.
Now, to briefly address the elephant in the room, I do not call these smudge sticks. A recent post by The Wondersmith on Facebook explains why so eloquently, I’ll let her do the explaining:
”There is a reason I call them herb bundles or smoke bundles, however. "Smudge" sticks were used by Native American peoples for spiritual purposes for many centuries before the arrival of other peoples on this continent. We have learned much from them, but it’s important to create our own earth-magic without desecrating their sacred plants or appropriating the culture of "smudging." White Sage is a sacred plant to the Native Peoples, but that doesn’t necessarily mean it’s sacred to the rest of us. Instead, we should consider what plants in our environments we feel a personal connection to and honor those.”
My desire to create some of these bundles using plants from my own garden was resurrected when I was sorting through the non-fiction collection at the library where I am currently working, and came across a book on the subject. I realized that now was the time to actually collect these plants and make this thing happen. And hey, it might make for a good YouTube video and blog post too! ;)
First, I thought about the plants in my garden and which ones were especially aromatic. I then used my trusty librarian skills to look up these plants online to make sure that none of them were toxic when burned (please please do not neglect this stage. And don’t take my use of these plants as rote…I could have researched incorrectly as well…do your due diligence)
Some of the plants I decided to try have no scent, but I decided to add them anyway because they bring me joy, or because they mean something special to me.
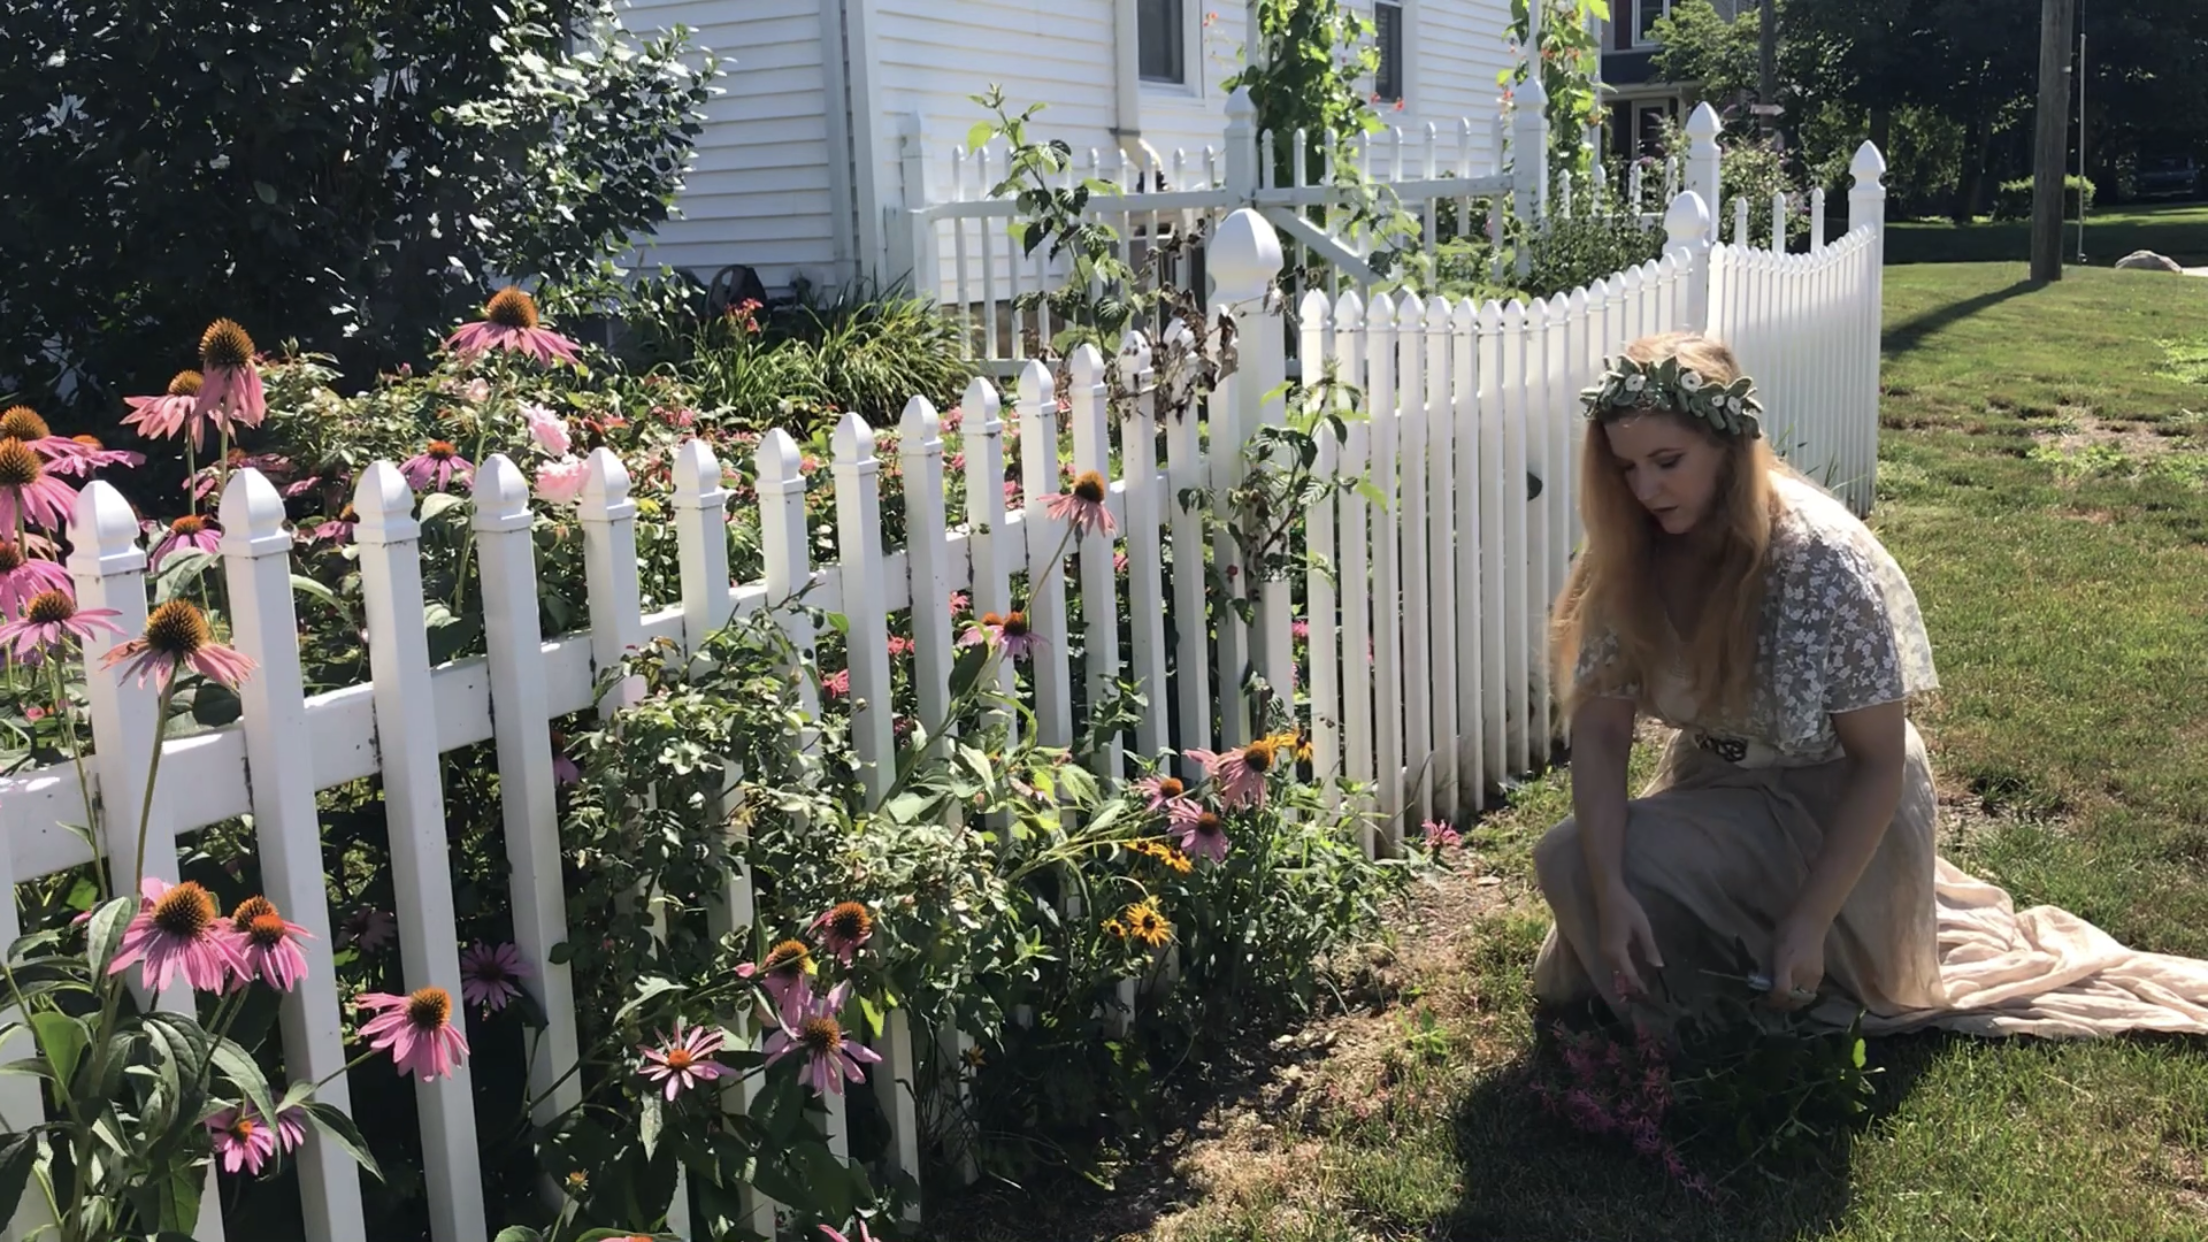
Next I collected my plants. I gathered lemon balm and calendula from my partial shade garden, and roses…this is an example of something I wanted in my bundles even though the roses I grow aren’t really aromatic.
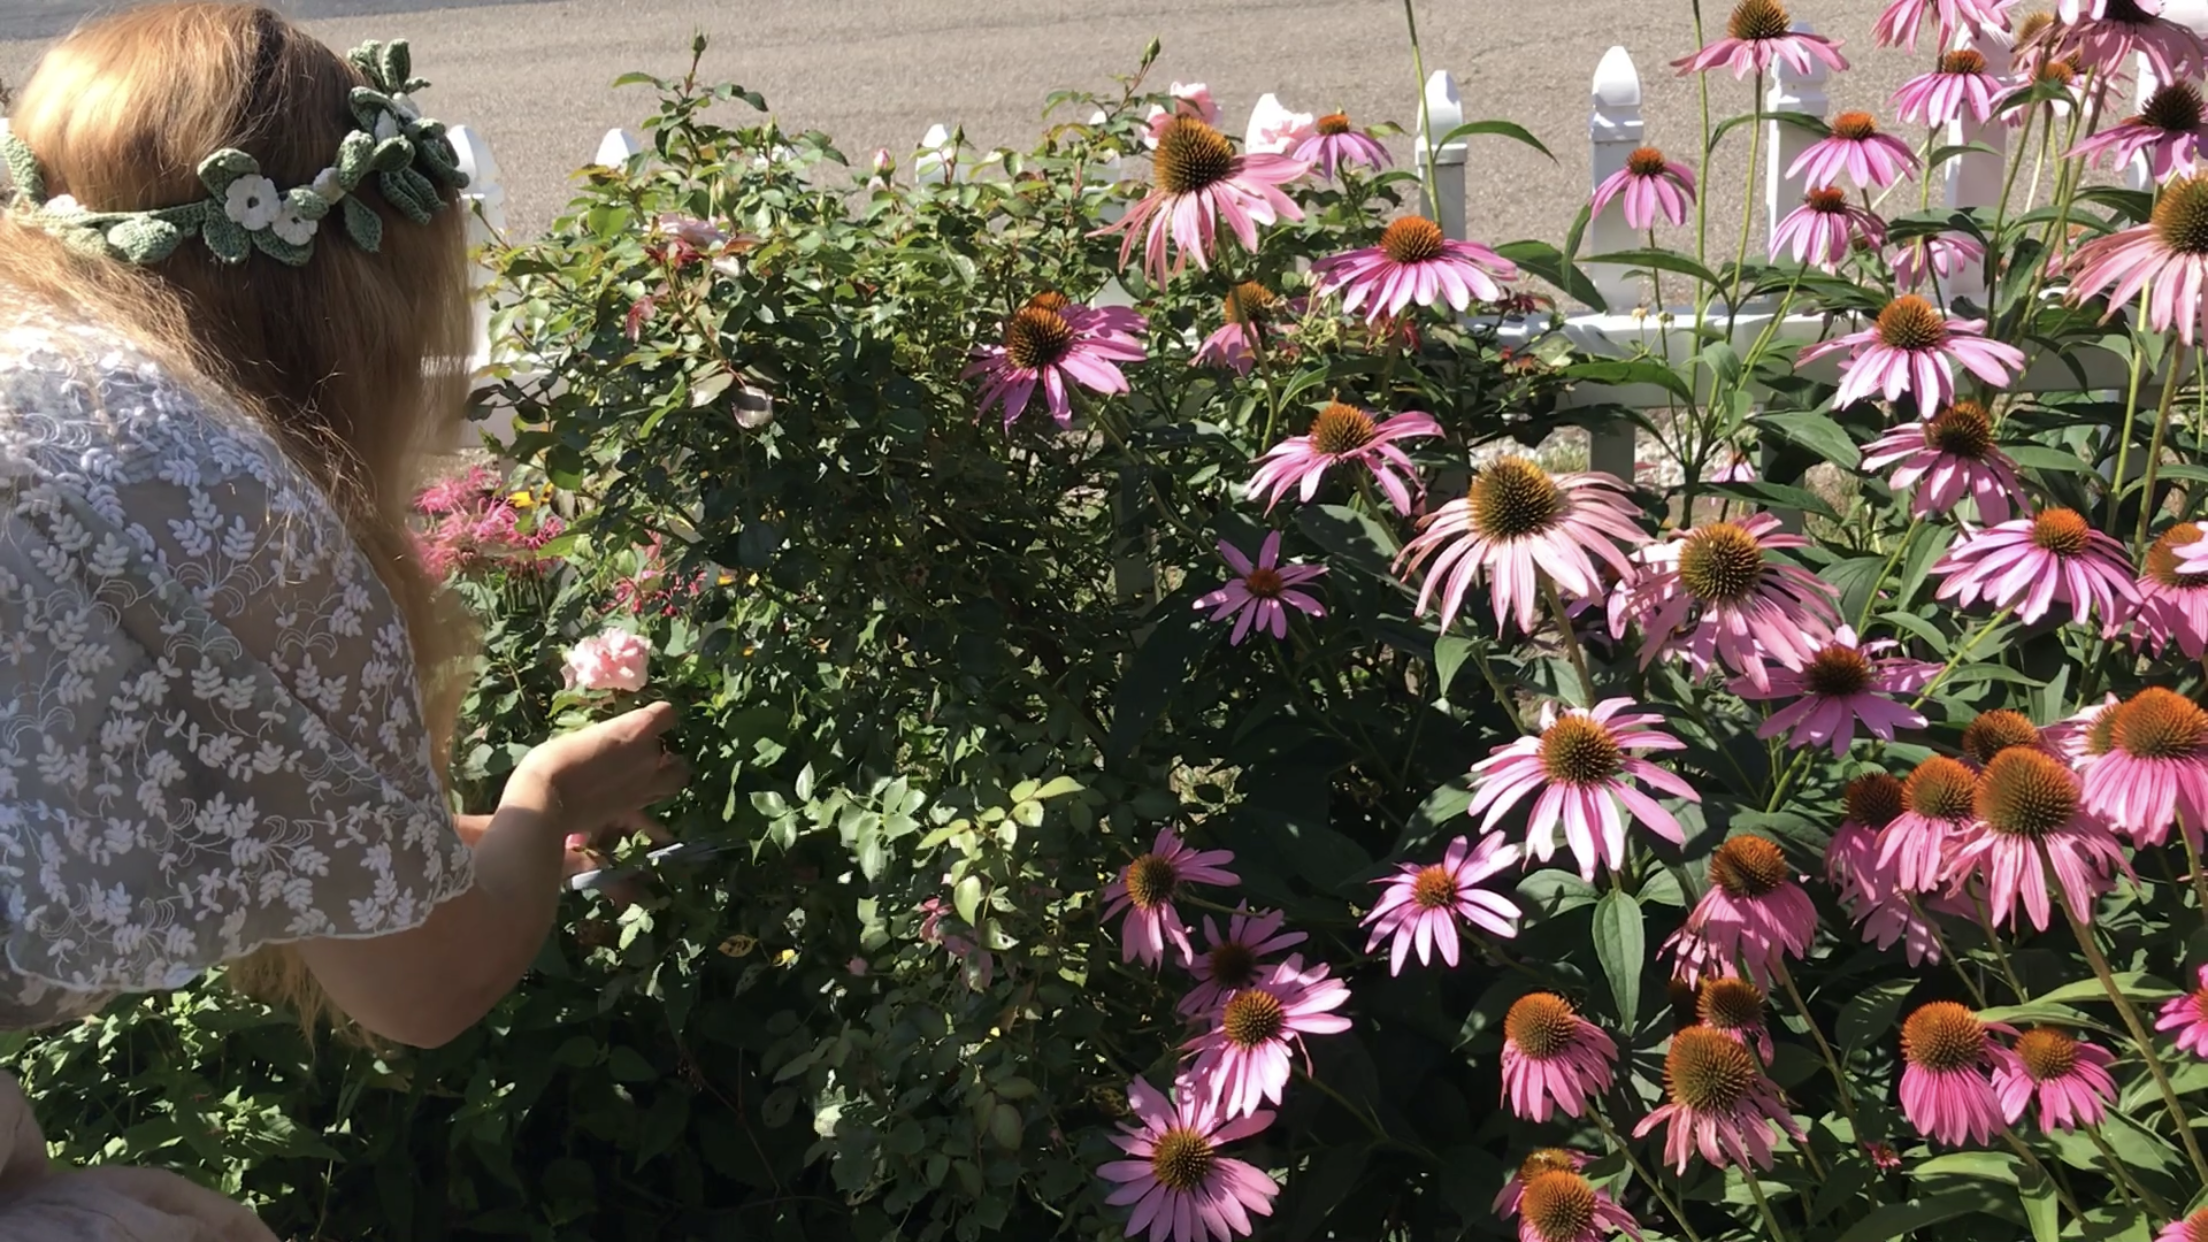
Next I gathered bee balm from along my fence line. I also gathered pieces of bee balm with no flowers, since the stems and leaves are aromatic too.
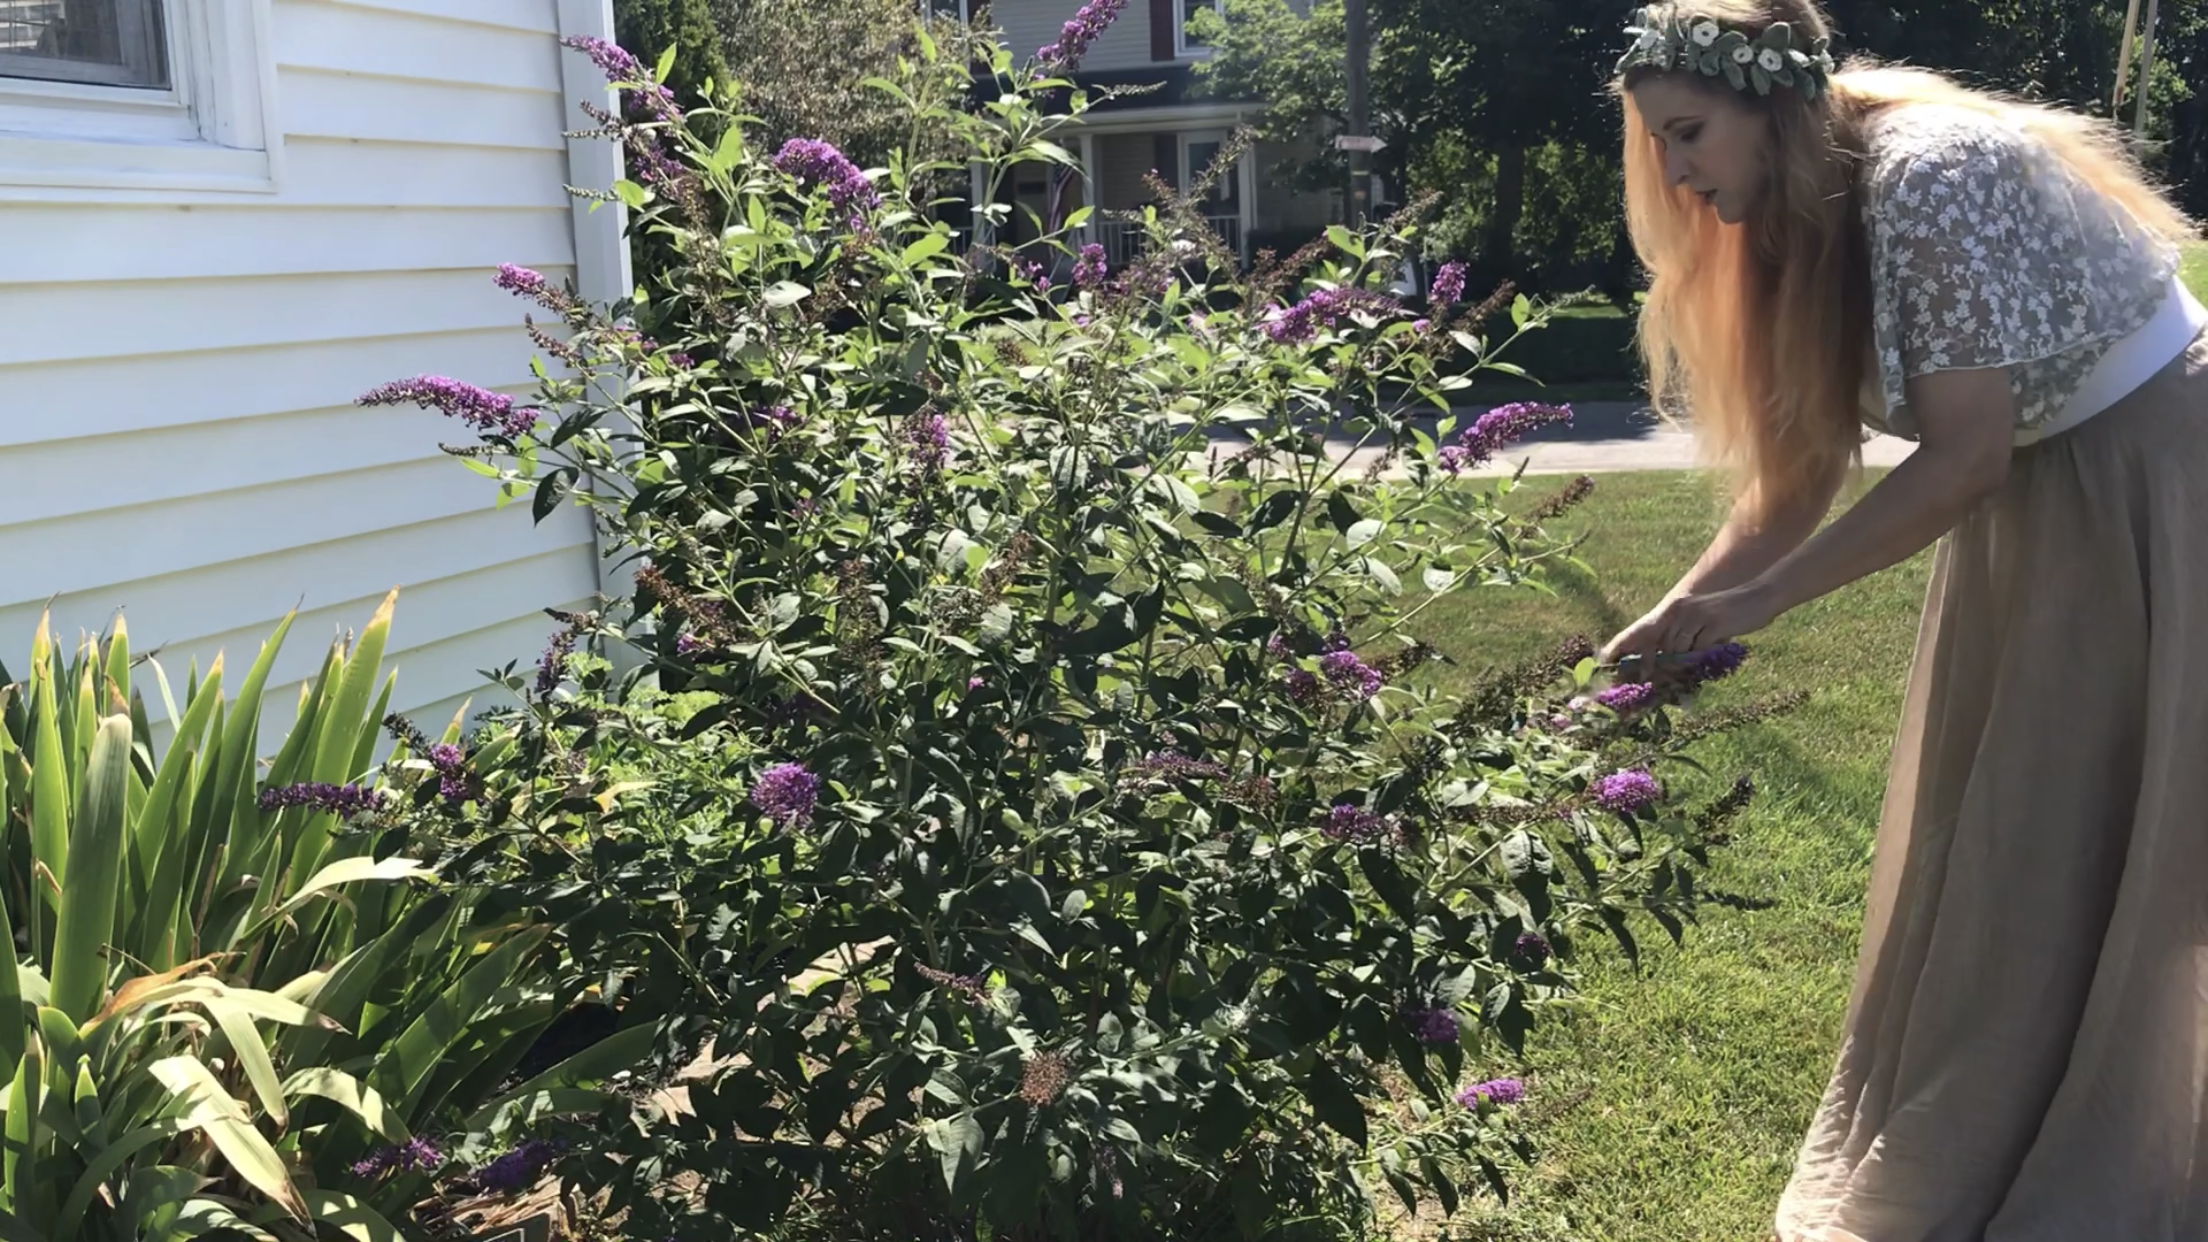
Next I gathered blooms and branches from my Buddleia, or butterfly bush.
And then soft and furry leaves from my lamb’s ear. These aren’t aromatic either, but I thought they might burn well once thoroughly dried, and help the other more fragrant plants burn.

The next step was to pre-dry the different kinds of plants. I got this tip from the excellent How-To article here. They advise to let your plants dry for 24-48 hours until they have had some of the water removed from them, but are still pliable enough to gather together in your bundles without cronching and crumbling apart. I used wax string for this part of the process, since it’s super easy to tie tightly (the wax helps the knot stay tight) and plants can shrink as they dry.
I hung my plants in the garage to dry. Our garage isn’t air conditioned, so this wasn’t ideal, but if any of the little bits and pieces were going to fall off the plants, it would be at this stage, and I have two feisty cats, so it was just in everyone’s best interests to do it this way.
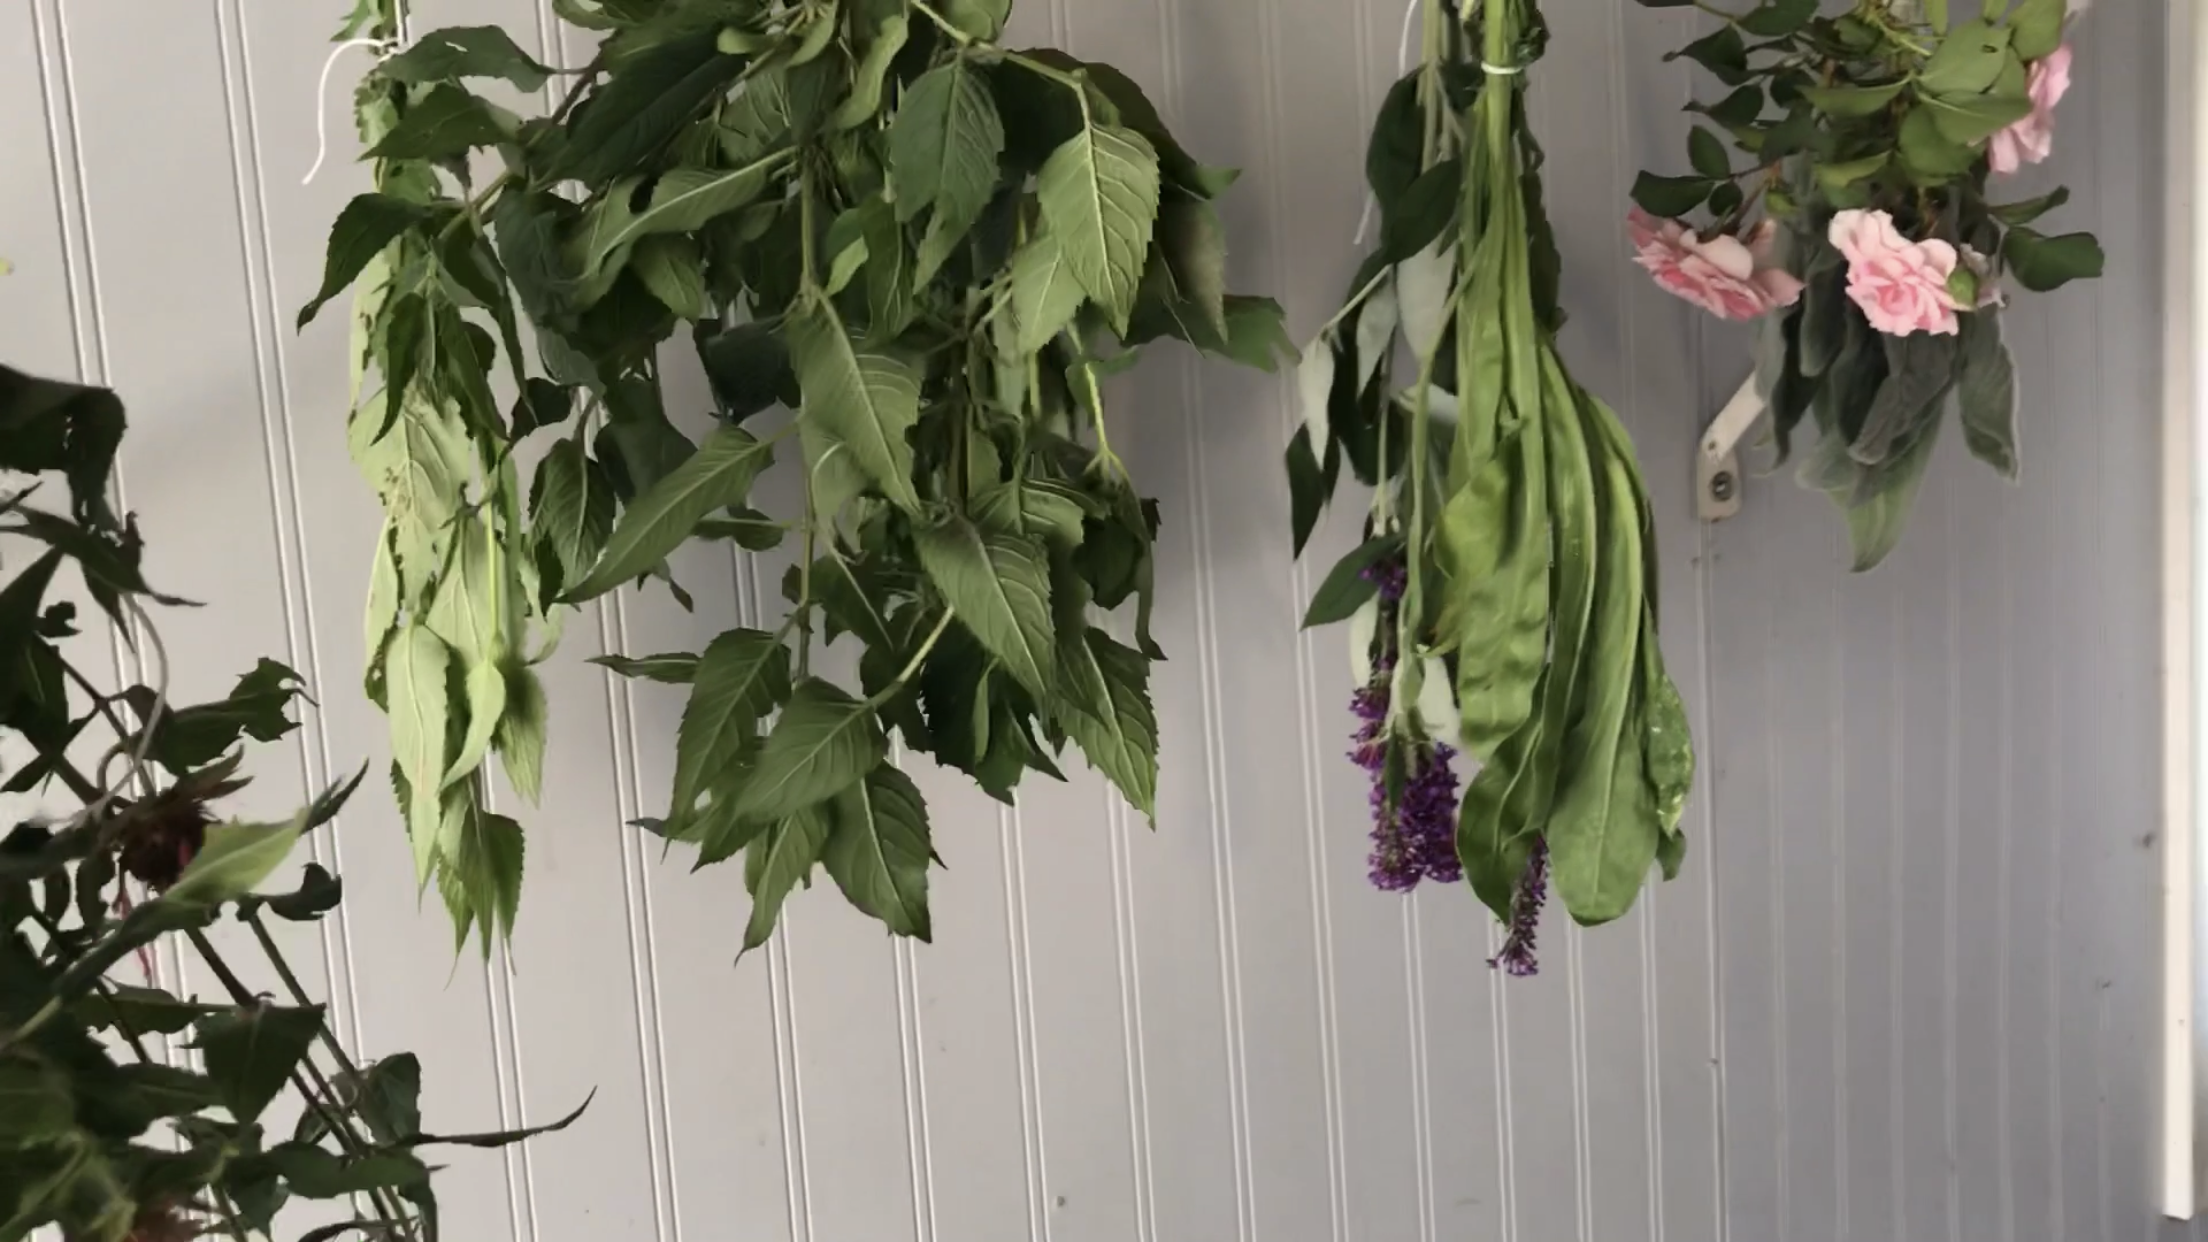
After 36 hours I took down the bunches of plants. As you can see, some of them dried out much faster than others. The lamb’s ear was still pretty much just as pliable.
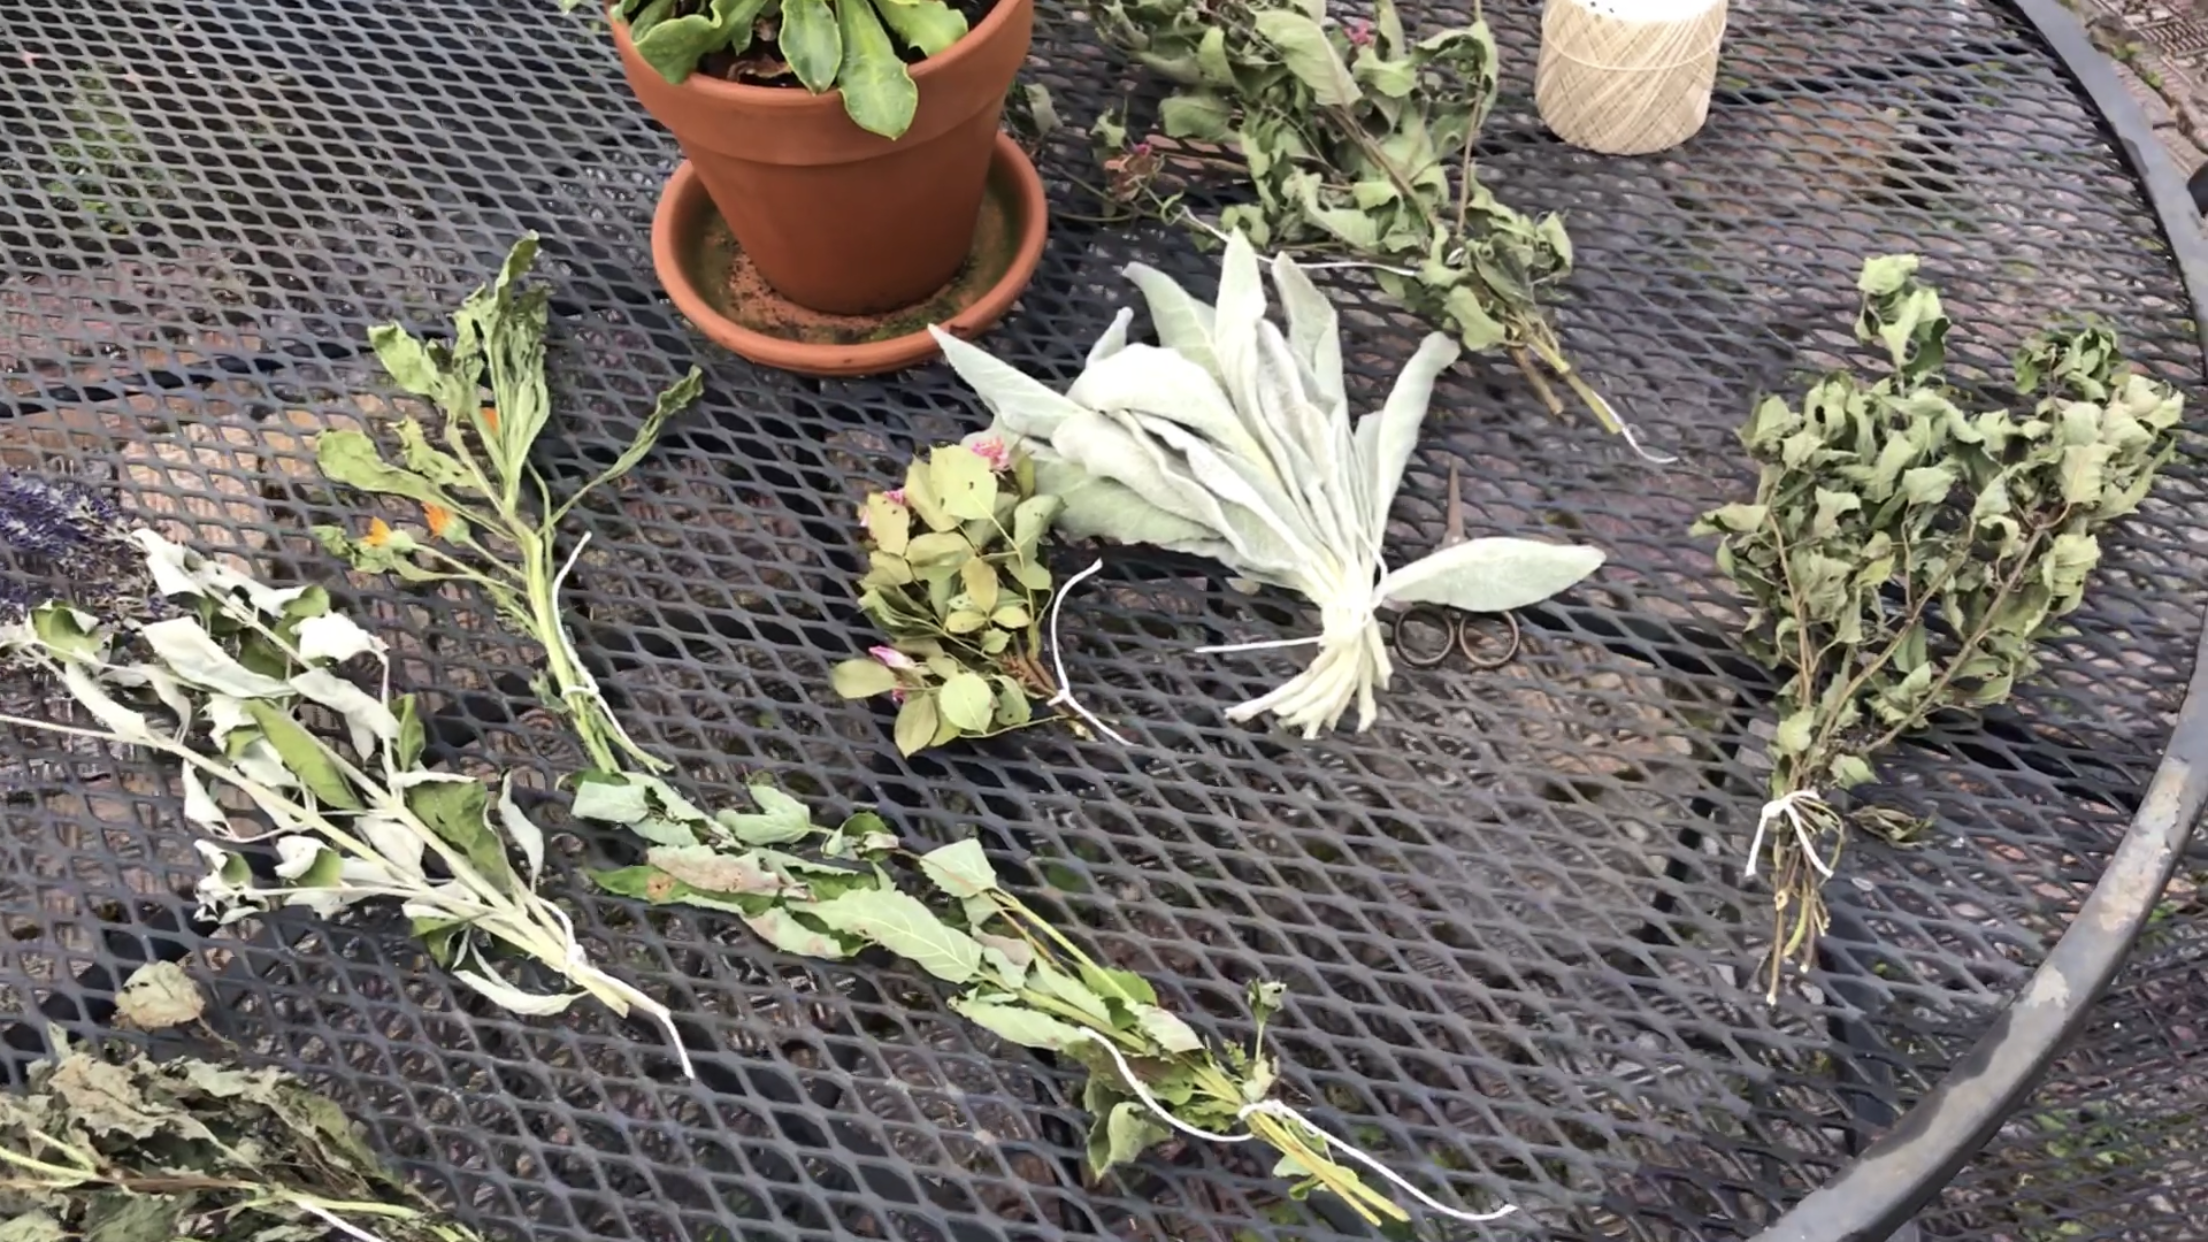
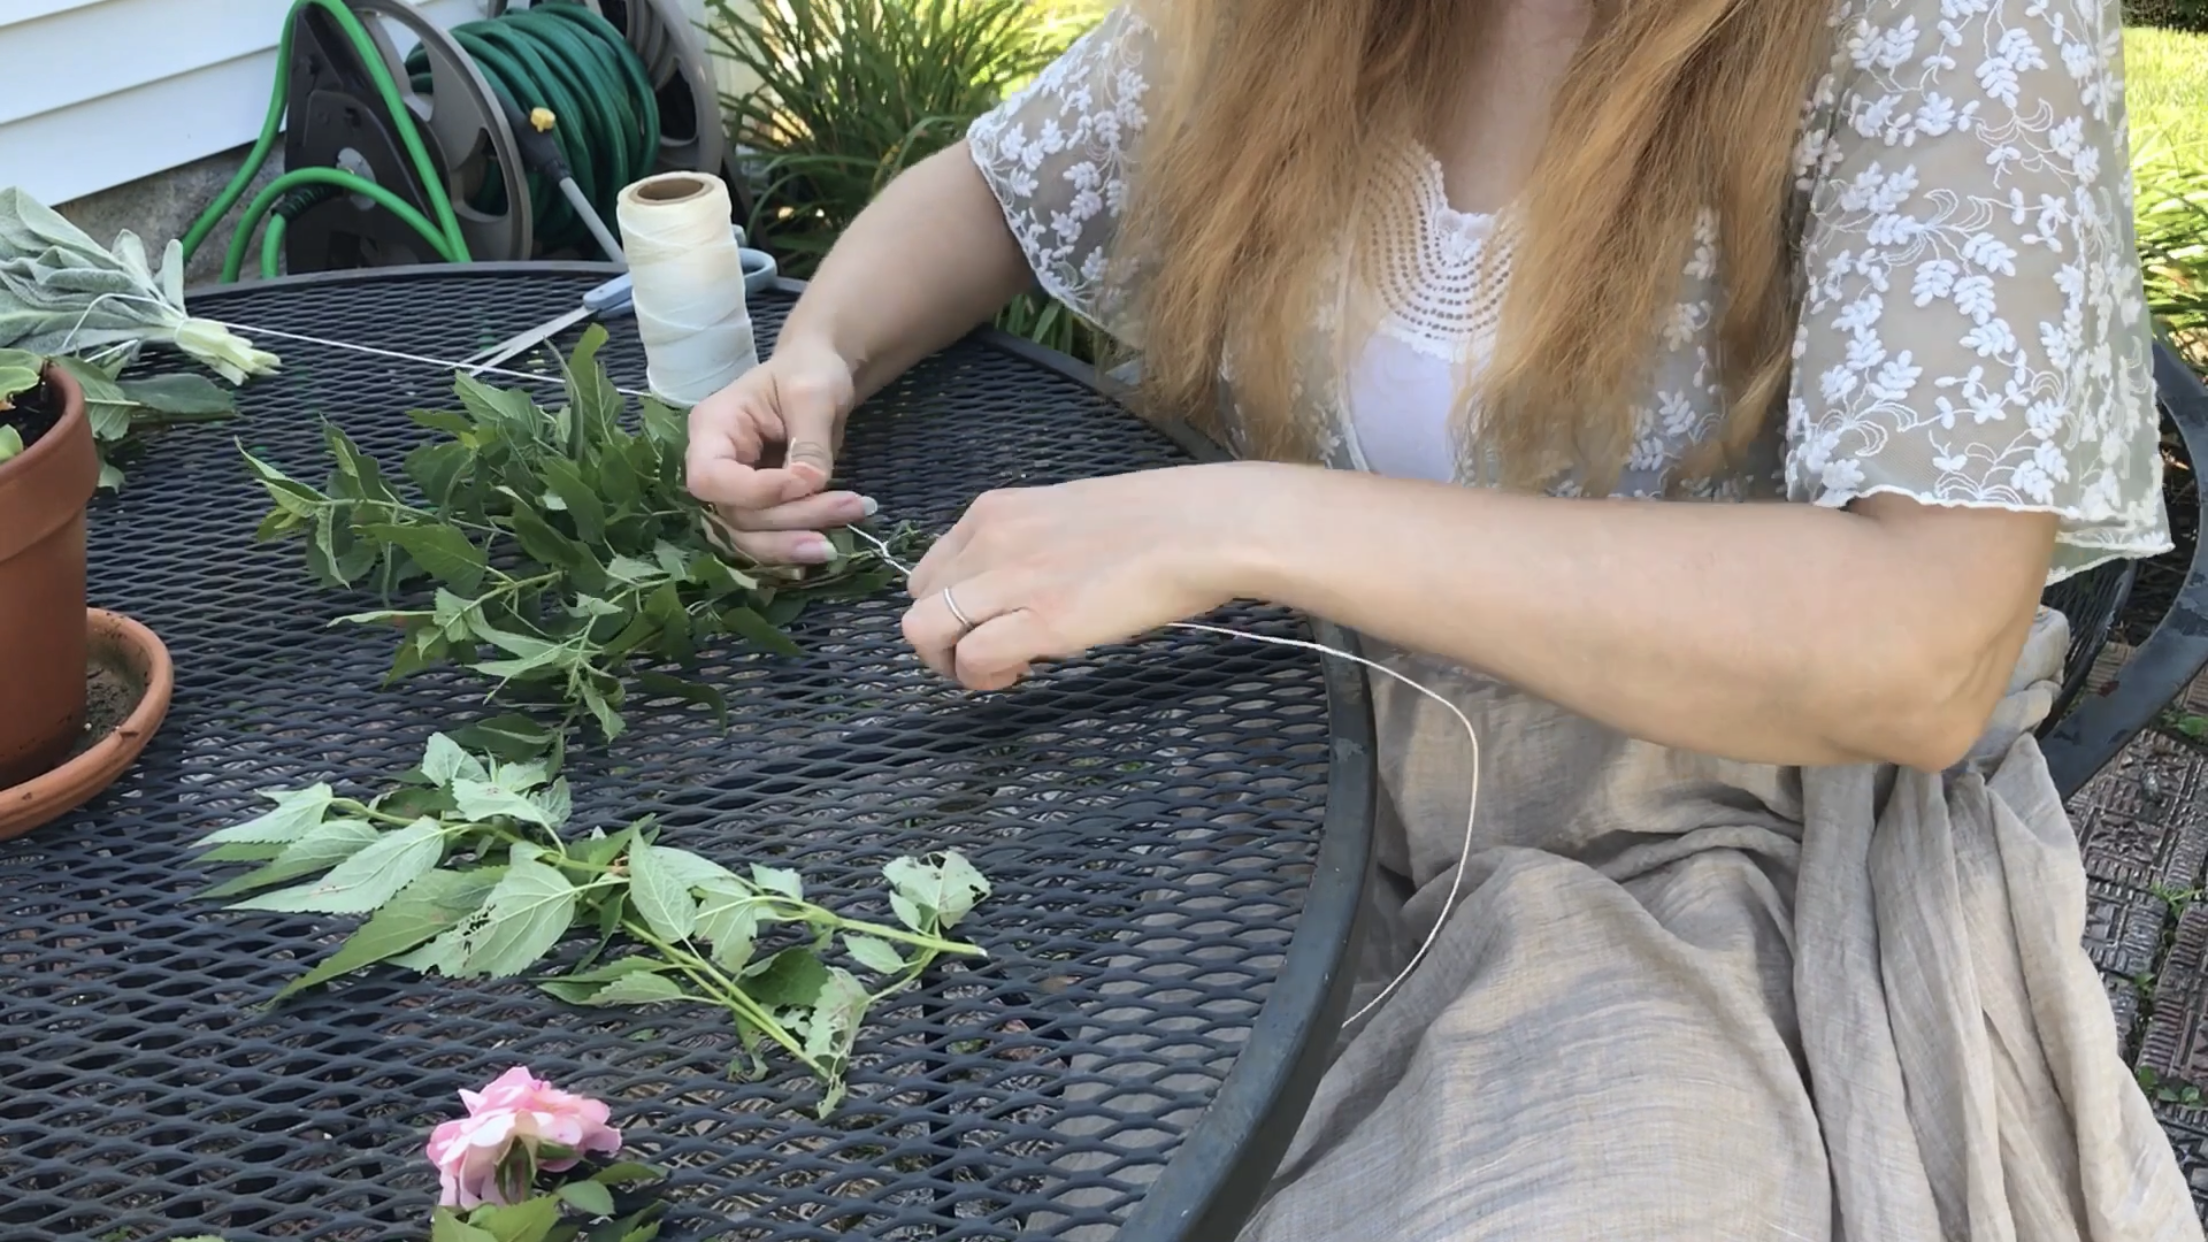
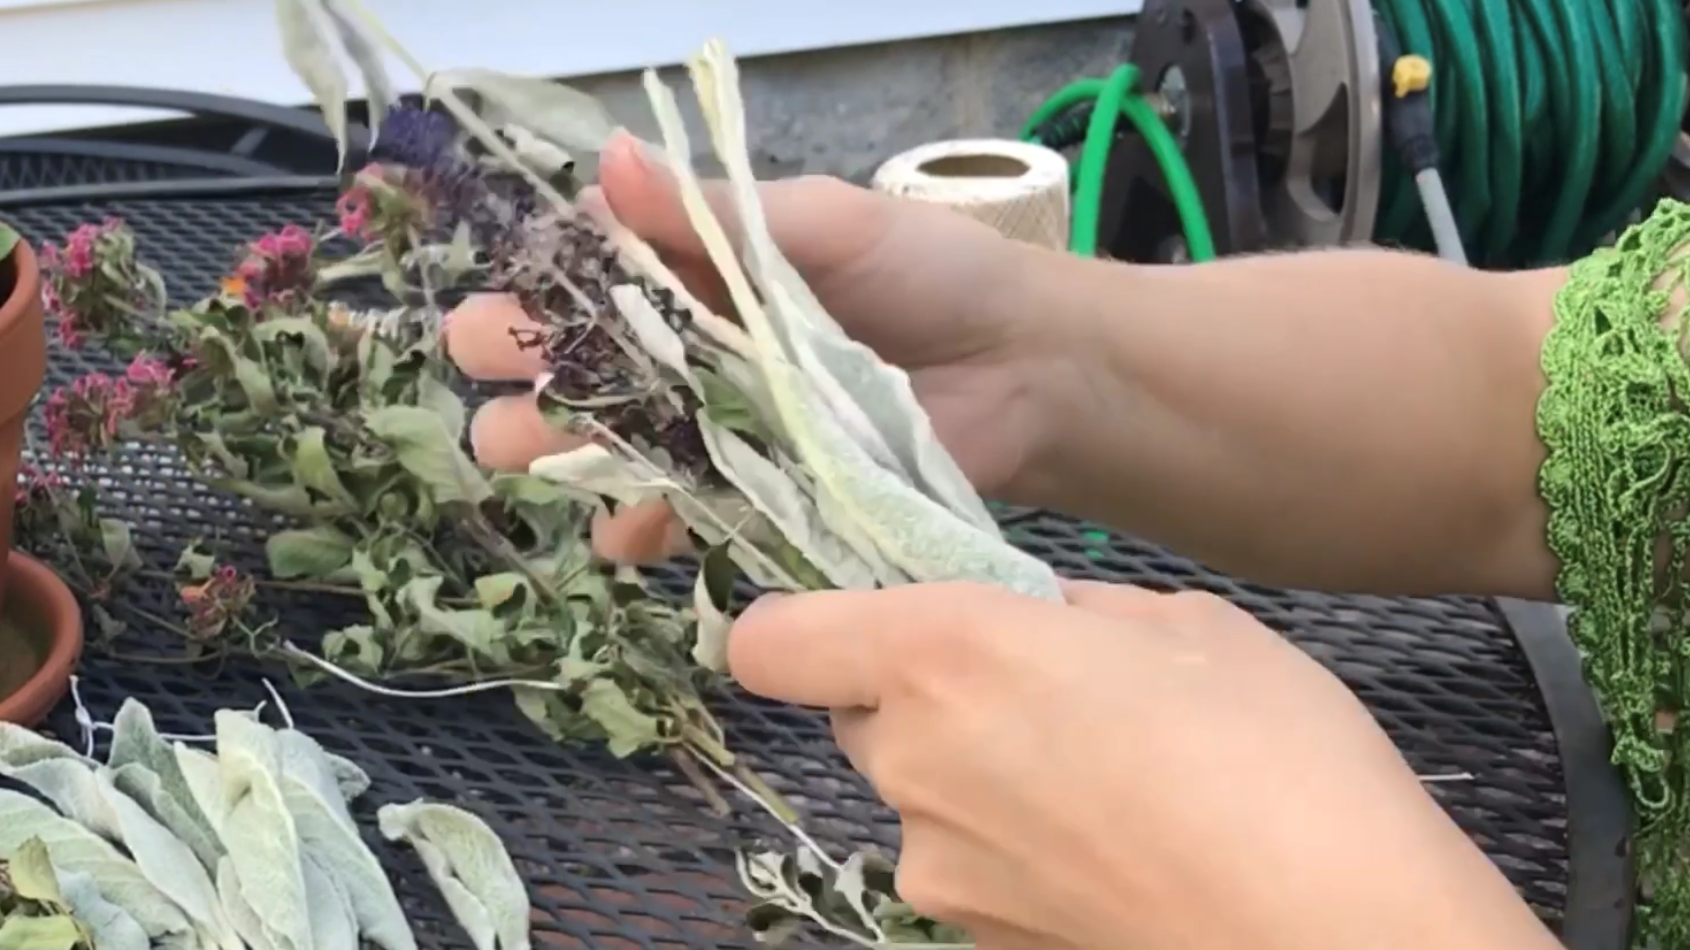
Next came the instinctive part of the process. I gathered together different combinations that felt right to me, or that I thought would work well together. When I was doing this, I focused on trying to keep the bundle in my hands to a similar thickness down the length of it. Sometimes, with leaves and stems, this meant laying some flowers in opposite directions.
Next I used my cotton string (note, please make sure you use a natural fiber/cotton string for your bundles. Do a burn test on a piece of string ahead of time if you aren’t sure) to tie most of the plant material together at one end of the bundle. I say “most” because some of my plant pieces were quite small, and were wrapped up more toward the middle of each bundle.
When you tie your knot, be sure to leave a “tail” of string hanging from one end. You will use this later.
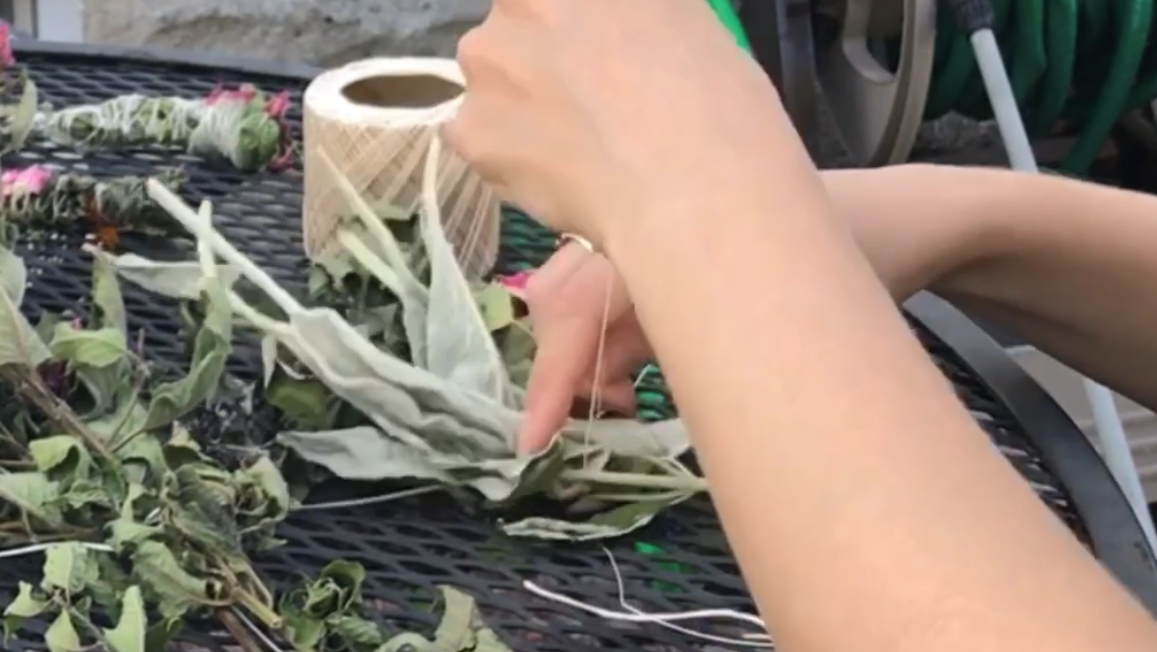
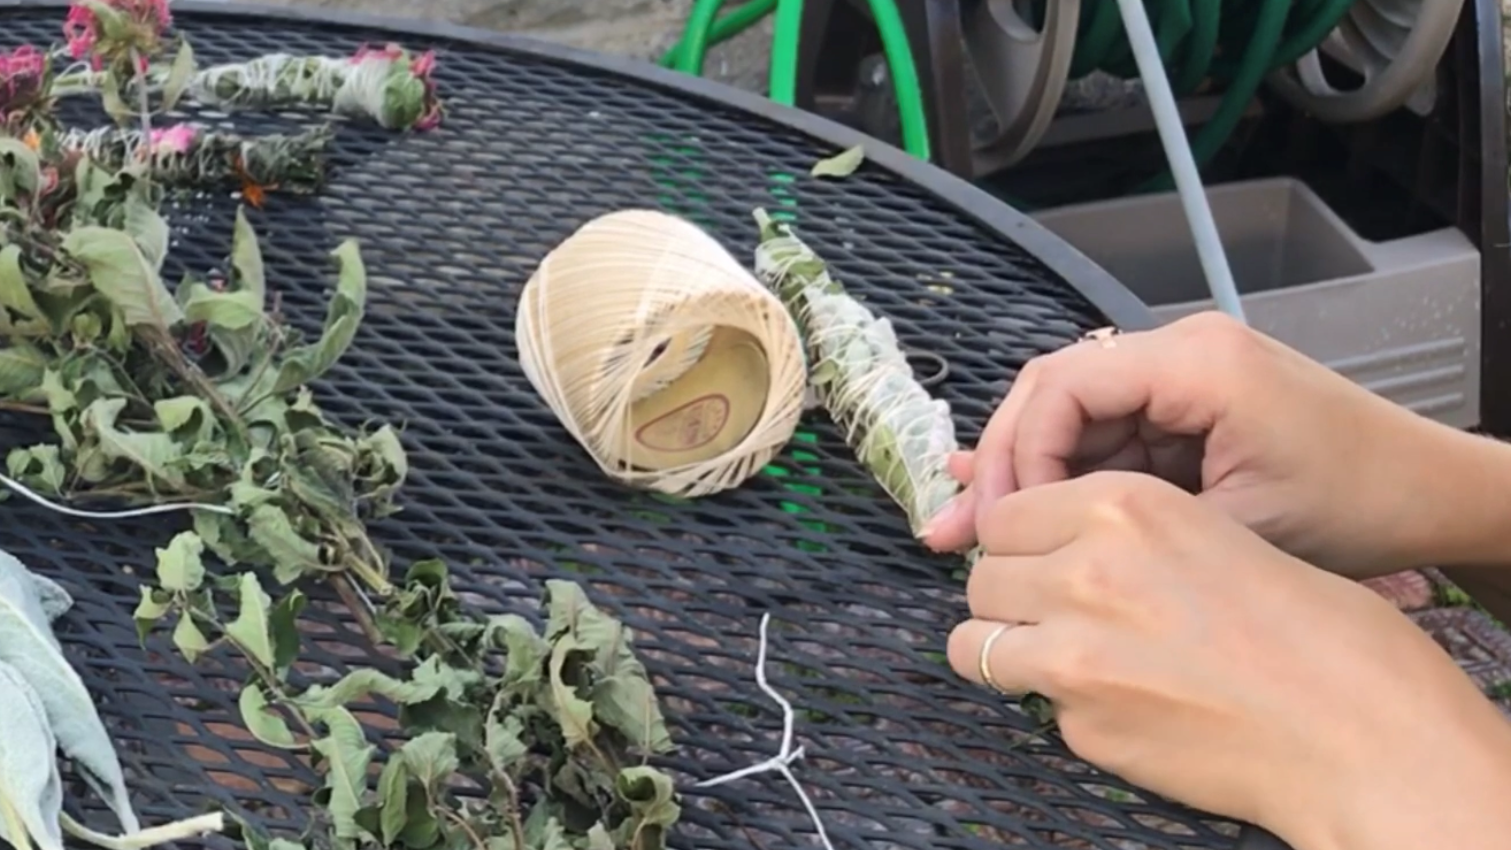
Next, wrap the string around your bundle. Your first couple of passes might look sloppy and terrible, but bear in mind that you will be going up and down the length of the bundle several times. If a piece falls out and you really want to keep it in your bundle, hold it to the side of the bundle and wrap it with string on your next go round. If you miss a leaf, either wrap it next time, or pull it off the bundle. And if there’s excess plant material at the top or the bottom or both, you can cut that off as well once your bundle is done.
Once you’re satisfied with your bundle, wrap your string back down to the end of the bundle with the “tail” and tie a knot using your wrapping string and the tail. Cut off your string from the spool, but make sure you leave a second tail on your bundle. This is what you will use to hang your bundles to dry, long-term.
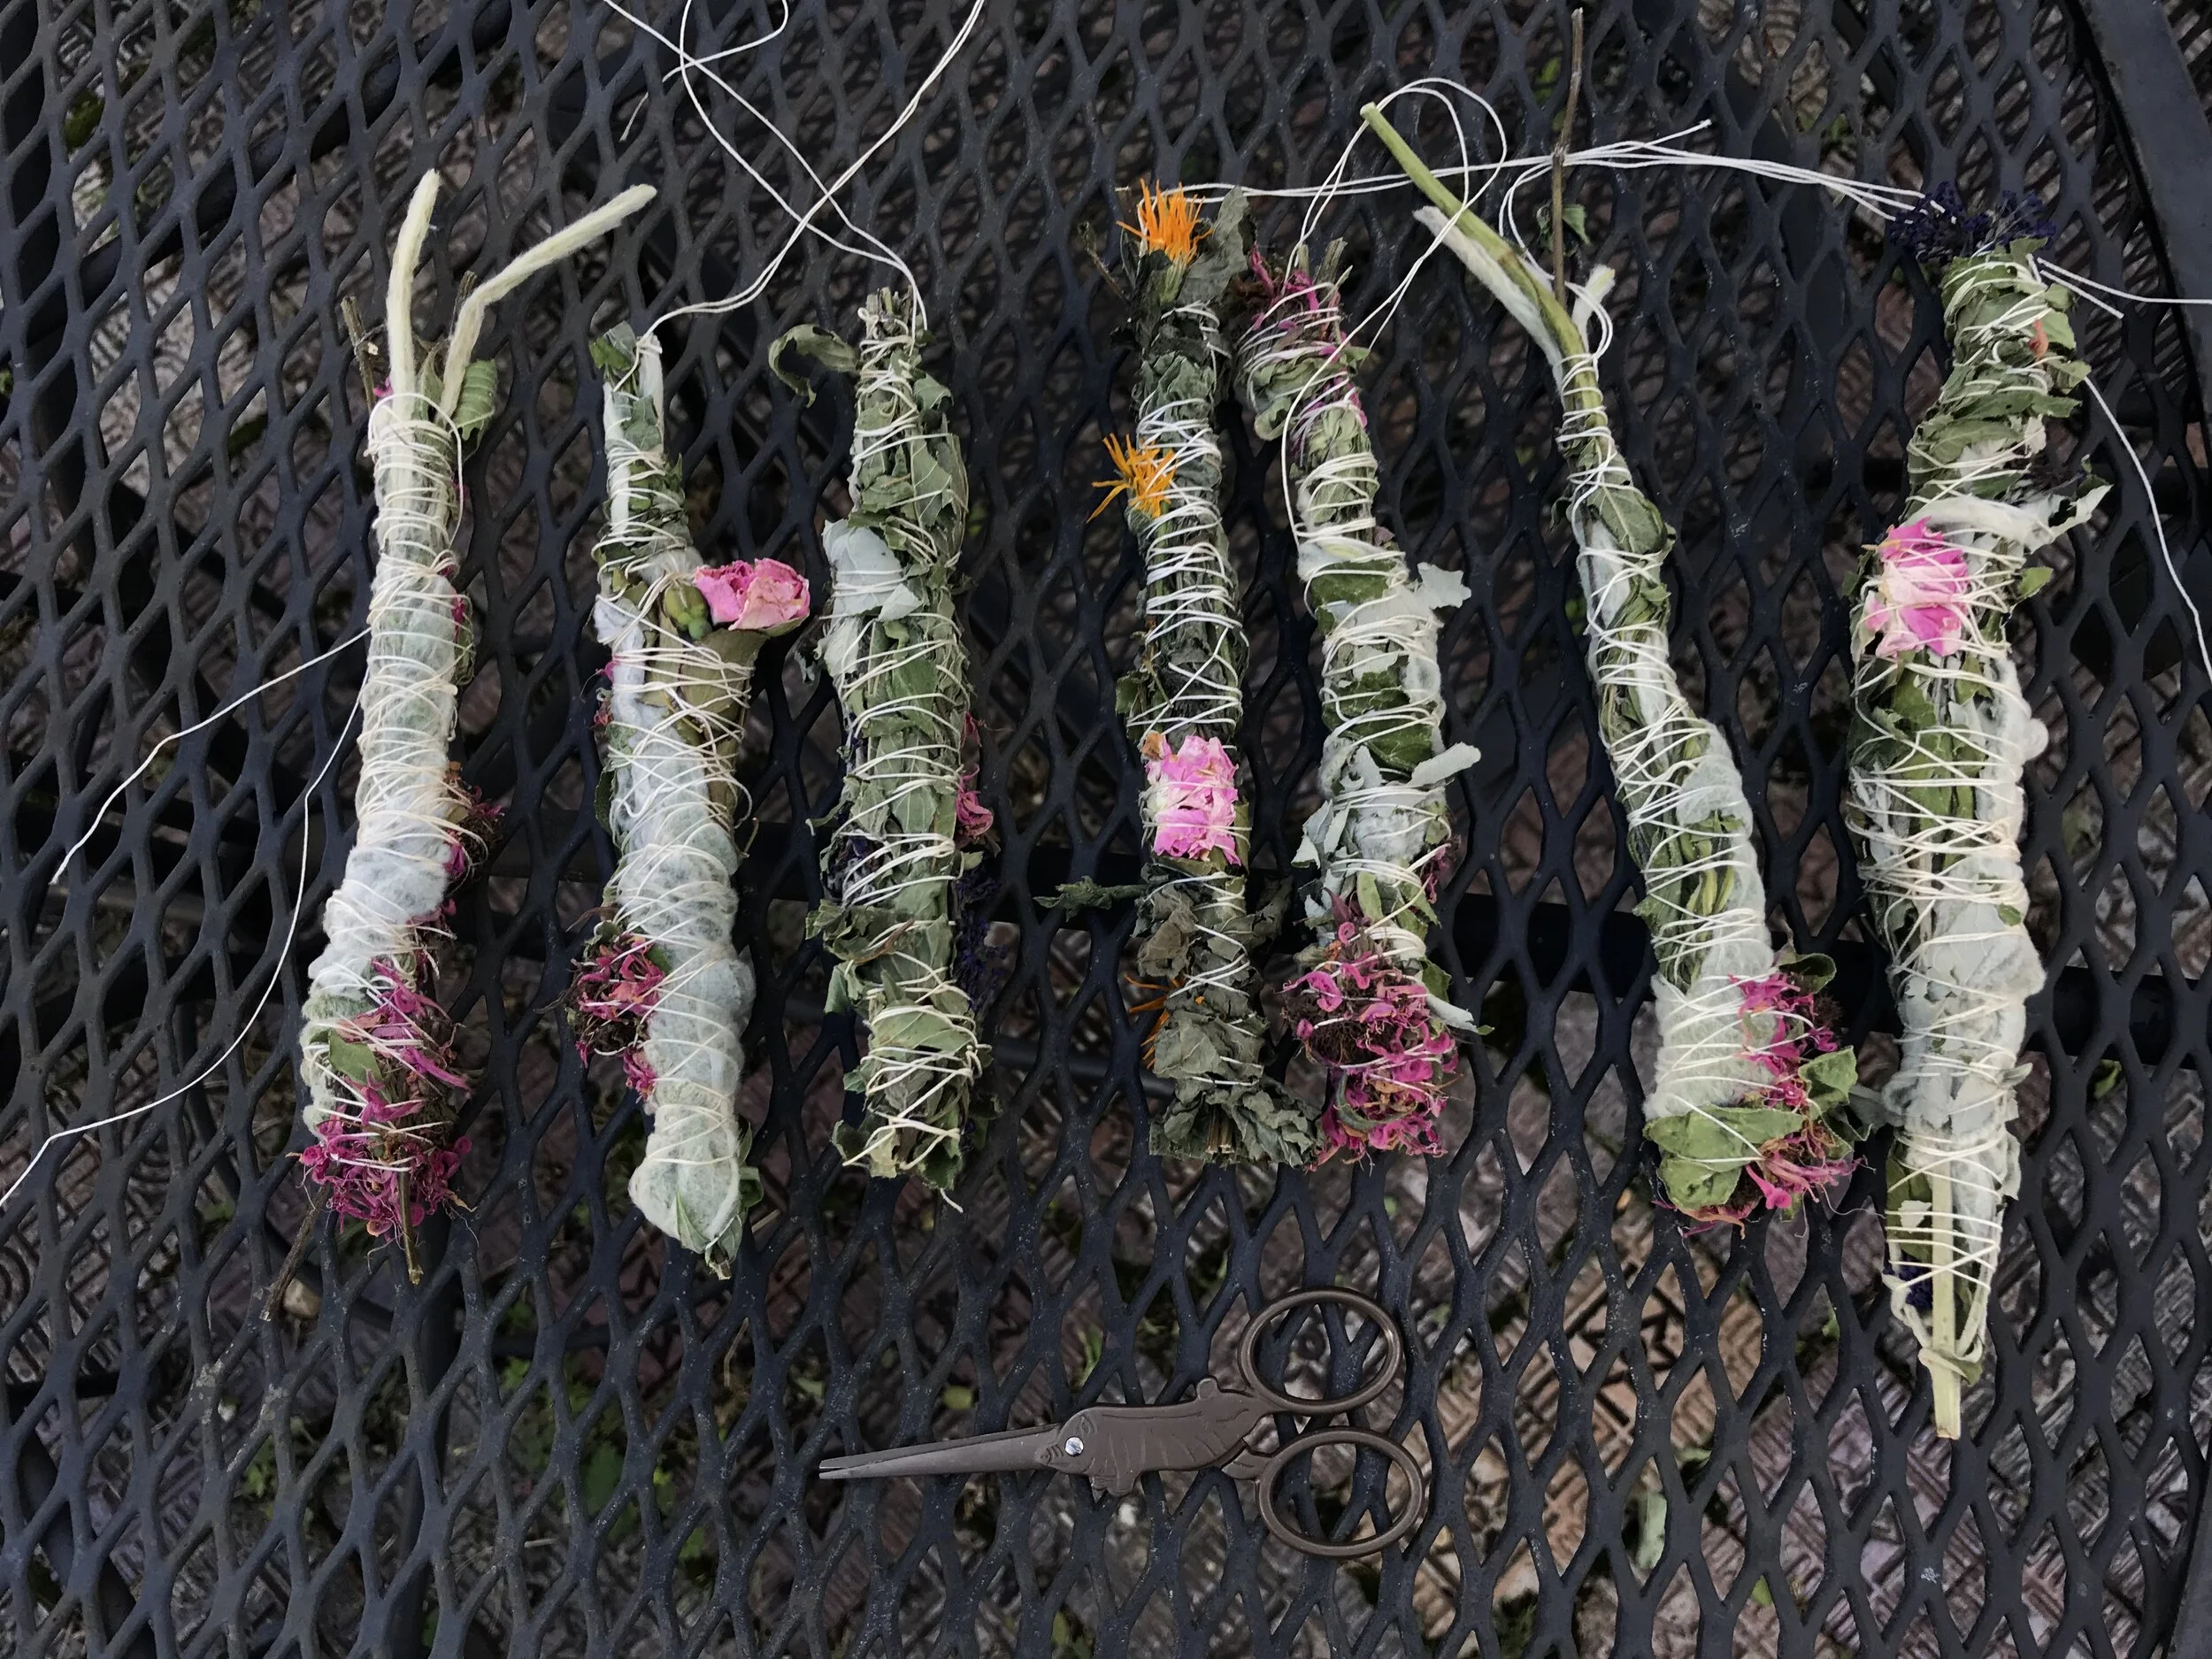
And there you have it! The plant material I gathered was enough to make seven burning bundles. These are now hanging in my basement to dry in a well-ventilated and low moisture area, out of sunlight. I actually used a clothes hanger to hang them all from.
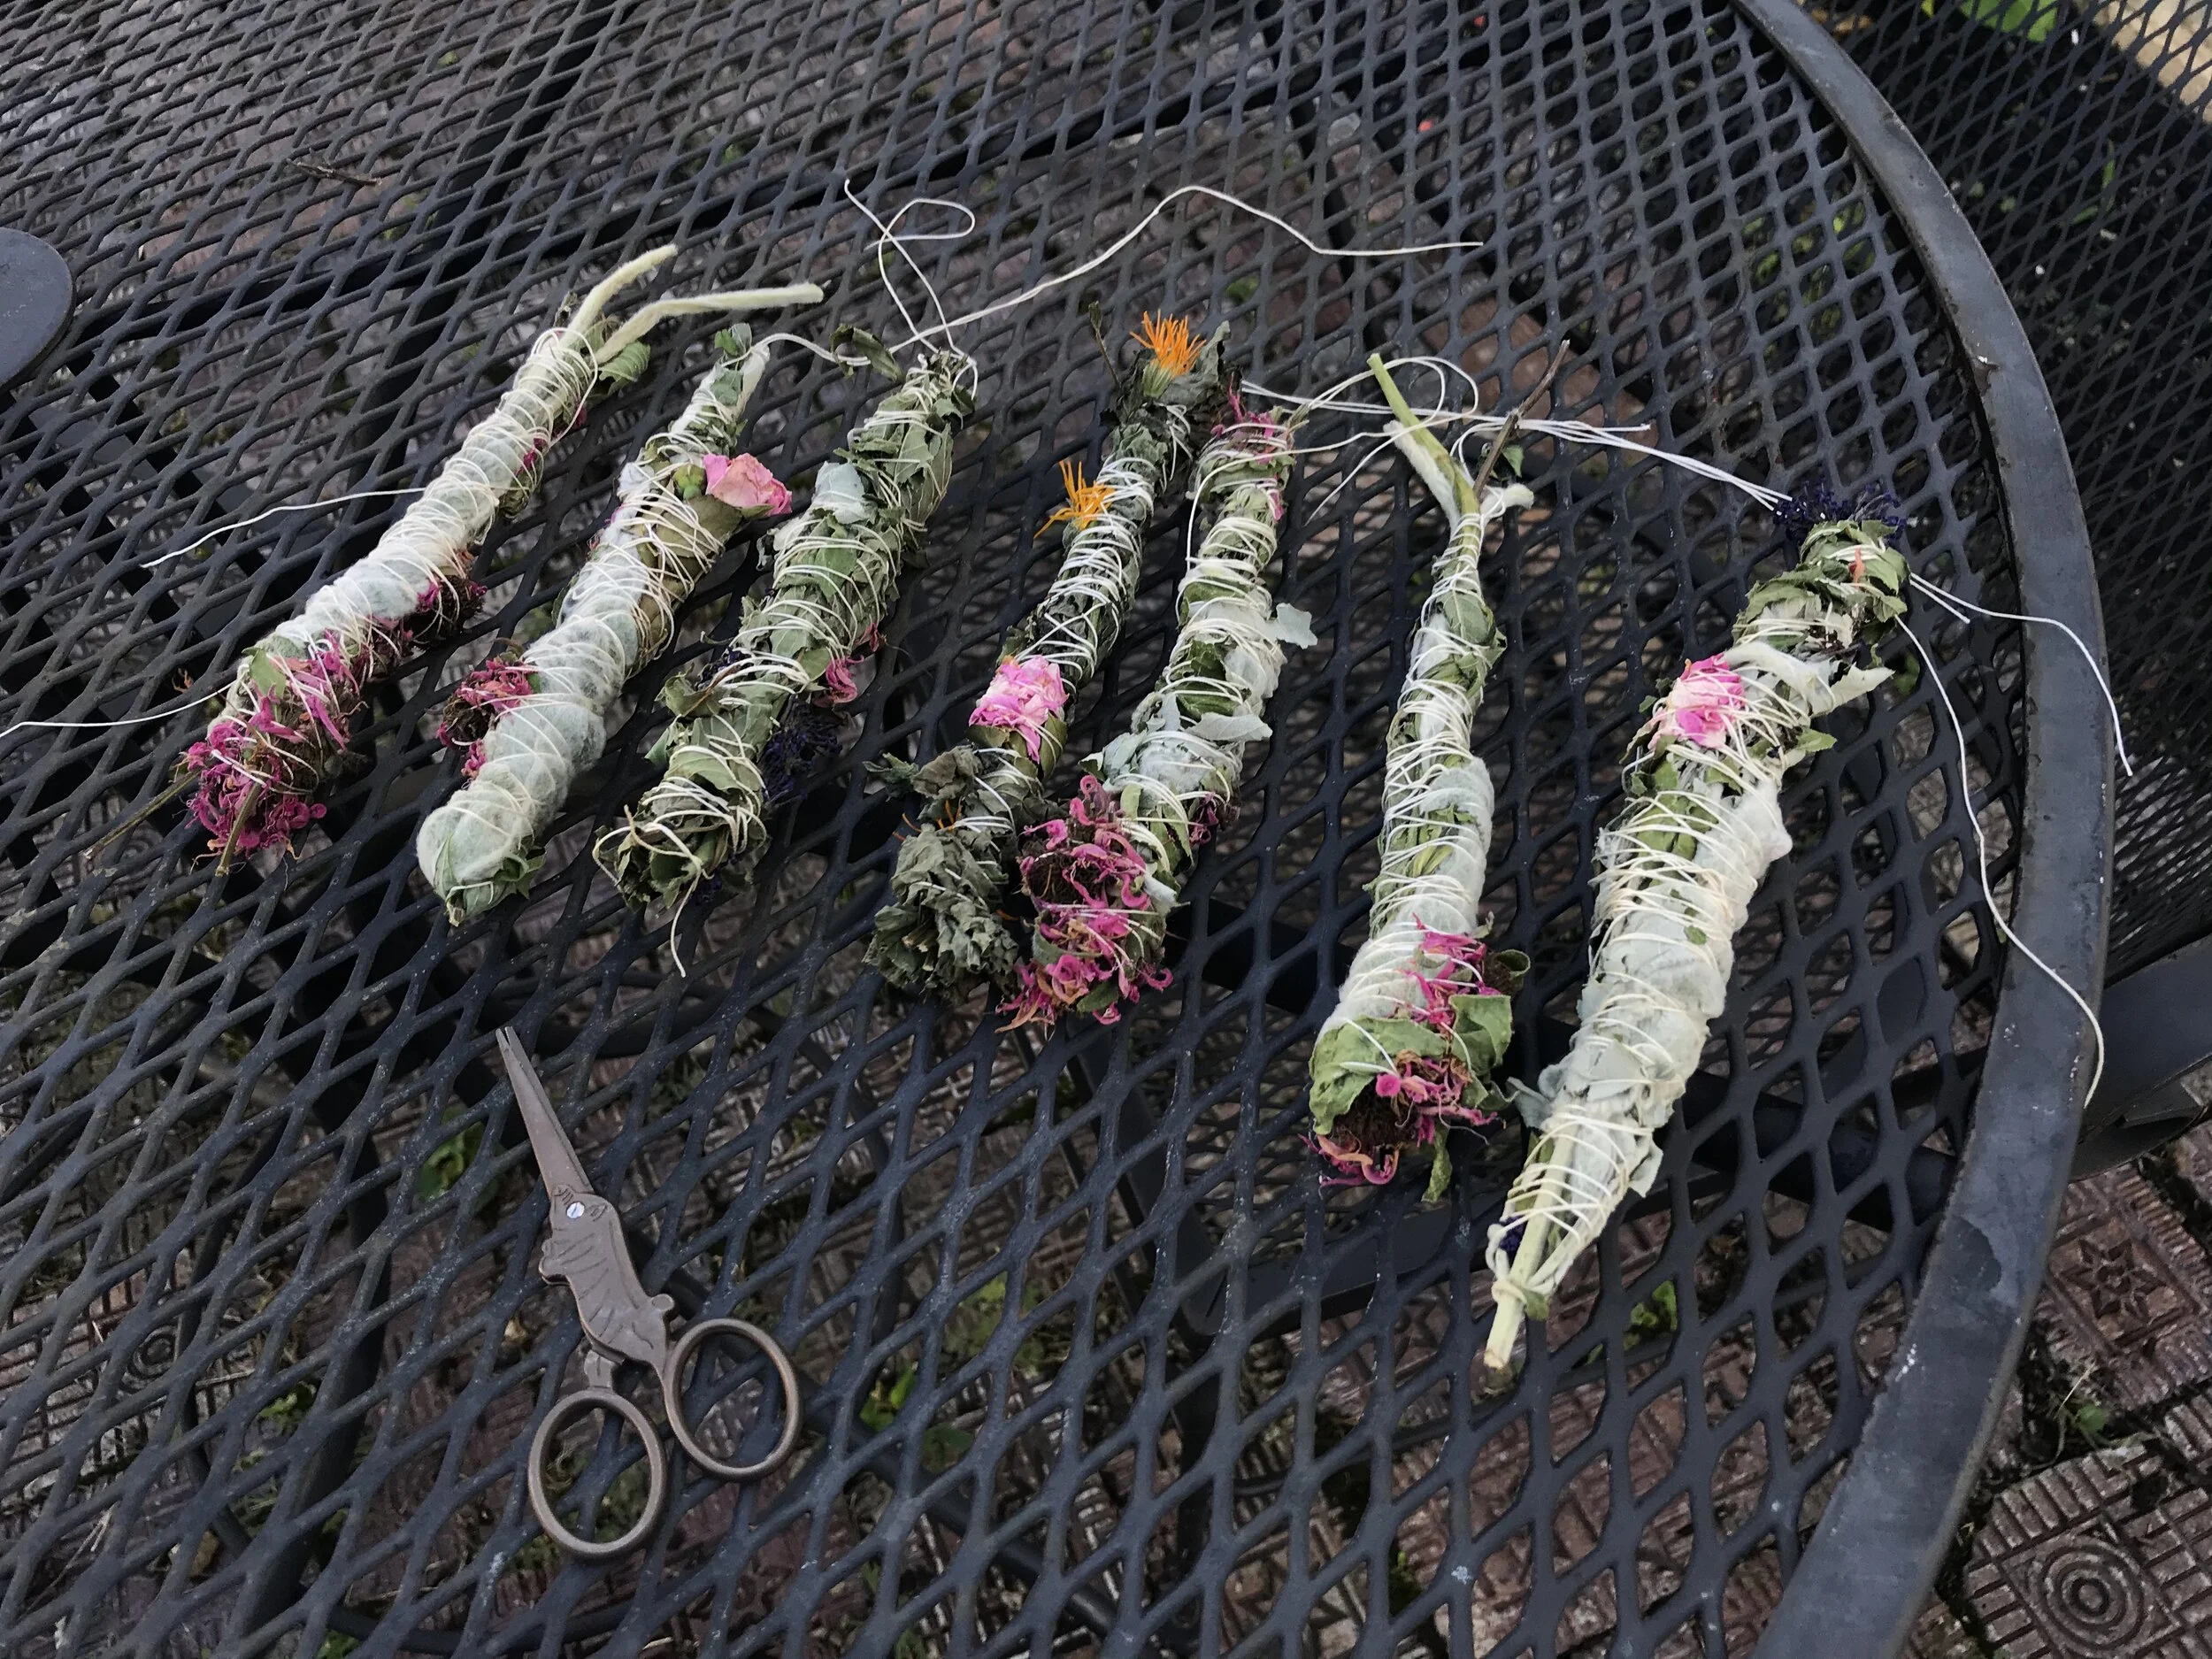
I am dellighted with how ugly-beautiful these look, (I mean, I’ve seen neater wrapping jobs, but hey, these are ones I made!) how fun it was to make them, and I am very curious to know how they will burn once they are fully dried. (I plan to give them at least 6-8 weeks of drying time before trying any of them)
I hope you enjoyed this little DIY, and if you decide to try making any bundles of your own, I hope you will share photos with me.